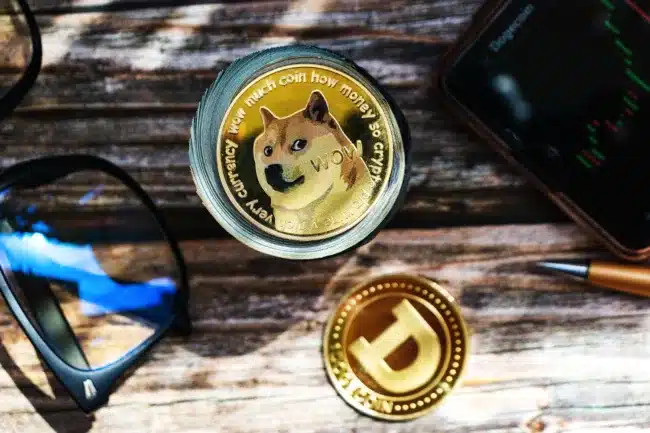
One of the most recent meme cryptocurrencies to gain popularity in the crypto world is Shikoku Inu Coin. Similar to the Inu-inspired dogs that have come before it, the Shikoku Inu attempts to capitalize on community interest, clever branding, and the expanding market forces.
Thus, if you plan to add it to your crypto portfolio, you will need to know how to store and manage it correctly. Everything you should know about adding Shikoku Inu to your crypto wallet in 2025 will be covered in this guide.
Understanding Shikoku Inu Coin
Shikoku Inu was initially launched as an ERC-20 token, derived from the Japanese breed of dog, the Shikoku. The project was presented as a community-based experiment, with a core focus on decentralized participation, meme culture, and grassroots promotion. Within its first few months, the coin became viral, with significant trading volumes, and garnered a following from all over the world.
Even in 2025, Shikoku Inu remains a player on the meme-coin stage. And it makes sense, as the meme coin market cap climbed by 500%, from $20 to $120 billion in just 12 months.
Choosing the Right Wallet for Shikoku Inu Coin
Selecting the right wallet is a crucial step before adding tokens. Your wallet type depends on your purpose and comfort level with private keys.
1. Custodial vs. Non-Custodial
Centralized exchanges provide custodial wallets that store users’ private keys on their behalf. The solutions are convenient and user-friendly, but not as secure, as they are based on third-party platforms to protect assets.
Non-custodial wallets (such as MetaMask, Trust Wallet, or hardware wallets) leave the user in direct control of their own keys, which are safer to hold over time. However, more responsibility is required to achieve this.
2. Mobile vs. Desktop Wallets
Mobile wallets are easy to use and can facilitate instant transactions. Since desktop/browser wallets typically offer more advanced functionalities, such as custom token imports, they are ideal for tokens like Shikoku Inu.
3. Popular Options
To ensure a smooth experience, crypto holders often prefer widely used non-custodial wallets for Ethereum tokens. Look for wallets that have an easy-to-add custom token feature.
4. Security Features
Prioritize wallets with:
- Strong encryption for private keys.
- Compatibility with hardware wallets.
- Anti-phishing alerts.
- Secure backup and recovery options.
The right wallet is structured in a way that protects your assets. If you’re still not sure what wallet type is best for you, read this detailed explanation: How to Choose a Crypto Wallet: The Ultimate Guide.
Step-by-Step Process to Add Shikoku Inu Coin

Once you’ve chosen your wallet, here are the steps to add Shikoku Inu safely:
Step 1: Verify official contract address.
First and foremost, verify the correct Shikoku Inu contract address. If a wrong or forged contract address is provided, the losses will be irreversible. The contract information should only come from official and trusted project channels.
Step 2: Select a compatible wallet.
Engage in a wallet that permits custom token imports and is compatible with your respective blockchain (Binance Smart Chain or Ethereum, depending on the token version).
Step 3: Add via the “custom token” option.
Open your wallet and click on “Add Token” -> “Custom Token,” and then copy the verified contract address in there. The wallet should automatically recognize the symbol of the token (SHIK) and decimals.
Step 4: Fund wallet with ETH/BNB.
Transactions require gas fees. For ERC-20 versions, keep ETH in your wallet; for BSC variants, hold a small amount of BNB. Without these, your transaction won’t process.
Step 5: Swap/import Shikoku Inu Coin.
If you don’t already own SHIK, use a decentralized exchange compatible with your network to swap ETH or BNB for Shikoku Inu. Connect your wallet, choose the token pair, approve, and complete the swap.
Many new investors search for how to buy Shikoku Inu crypto, and this is precisely the process: acquire it through a DEX and then add it to your wallet. If someone sends you SHIK, it will appear once you’ve added the custom token.
Step 6: Confirm token balance.
Look at the list of tokens in your wallet. If everything was done correctly, your Shikoku Inu net balance will show up. Otherwise, refresh or re-import with the proper contract address.
Moreover, it is advisable to monitor the developments on larger crypto platforms, as the token market generally mirrors global trends that sometimes influence meme coin movement.
Common Mistakes to Avoid
You can add tokens straight away, but there are some risks involved. Here are some of those risks to avoid:
Fake Contract Addresses: Scammers often circulate fake addresses in contracts. Make sure to double-check the official source before taking any further action.
- Wrong network selection: If you send tokens to the wrong blockchain (Ethereum vs. BSC), they will become inaccessible.
- Insufficient gas fees: Transactions require a currency called ether (ETH) or Binance Coin (BNB) for gas. Maintain a buffer to prevent failed or hung transfers.
- Phishing Risks: Avoid Fake Sites or Apps. Only download wallet apps from official sources, and double-check website URLs before connecting.
- Incompatible wallets: Some wallets will not support custom tokens. Before you get started, make sure your wallet is compatible with SHIKO.
Conclusion
Adding Shikoku Inu to your wallet is not difficult, but it is essential to pay attention to the details. Checking contract addresses and funding with the right gas token are just some of the steps that keep your assets secure and viewable.
Being prudent and educated, you will be ready to include Shikoku Inu and any other future tokens in your portfolio with ease. For more crypto news, follow 36Crypto and stay updated with Shikoku Inu and other latest memecoins.

