Last updated on January 30th, 2023 at 08:12 am
With many projects being developed across the cryptocurrency space under different networks, the difficulty with specific usage of these networks requires one to be meticulous when carrying out transactions to avoid situations where tokens of a particular chain are sent with another network entirely. There is a special need to learn how to add a Network using Chainlist on Metamask.
The Ethereum blockchain is the most used when developing tokens of multiple chains with various use cases.
In other to bypass the difficulty in adding these networks to wallets that accommodate many networks like Metamask, Chainlist has developed a platform that enables one to easily add a network on metamask.
In this article, 36crypto has come up with a detailed guide on how to add a network using chainlist on metamask.

How to add a Network using Chainlist on Metamask
The traditional method involved in adding a network on metamask requires a stressful and time-consuming process whereby a user manually inputs the various data required to set up the network.
With the development of the Chainlist website, users can automatically add networks on metamask without going through rigorous manual methods. The site fast-tracks the addition of chains of networks to metamask within seconds and therefore making the procedures seamlessly easy.
If you want to add networks to MetaMask, accessing Chainlist is one of the easiest ways to do it.
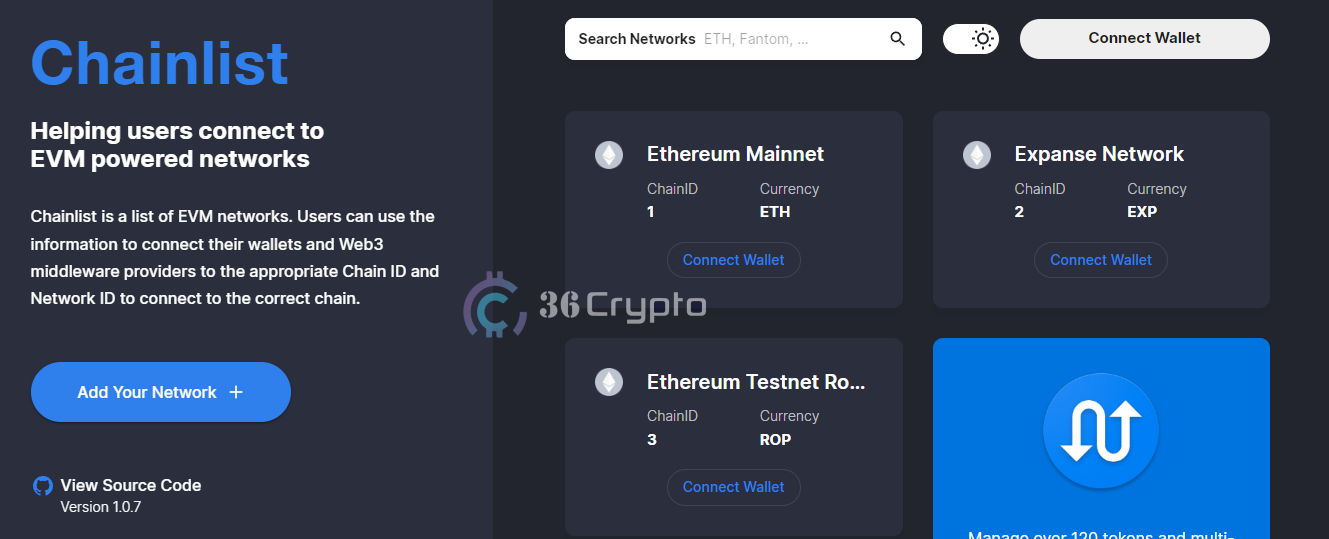
Chainlist is an online site that lists a range of different EVM (Ethereum Virtual Machine) networks. It currently supports the connection of 205 different chains, including testnets. This allows you to add any network to your wallet with only a couple of clicks.
Below is a detailed approach on How to add a Network using Chainlist on Metamask.
RELATED: What is Blockchain?
1. Connect Wallet.
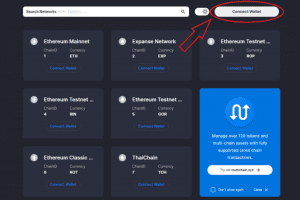
Open the website and once the background loads completely, click on the CONNECT WALLET icon by the top right corner of either your desktop or your mobile phone.


With this simple method of using chainlist on metamask, it is now easy and very fast to add different networks without the manual process of copying and pasting links. The best thing about this procedure is that it is free and open-source!
