Last updated on April 9th, 2025 at 12:11 pm
As the world keeps changing and progressing quickly, the crypto world and blockchain are also growing. In our daily lives, we often encounter new words that we may not be familiar with. In this article, we’ll talk about testnets, and their background, and share personal experiences. We’ll also discuss the new testnet currently available in the market.
What is a Testnet?
A testnet network plays an essential role in the development of cryptocurrencies, such as Bitcoin. It serves as a valuable tool for development teams, enabling them to carry out testing activities without affecting the performance of the main network.
Testnet-like networks have their form of digital currency, which is a copy of the original cryptocurrency. When you use these networks, it doesn’t affect the actual public blockchains of the original cryptocurrencies.
These networks are separate from the main blockchain, providing a safe environment for developers to freely test their code without any consequences on the main blockchain.
When a cryptocurrency exchange creates its own network, it’s a big deal
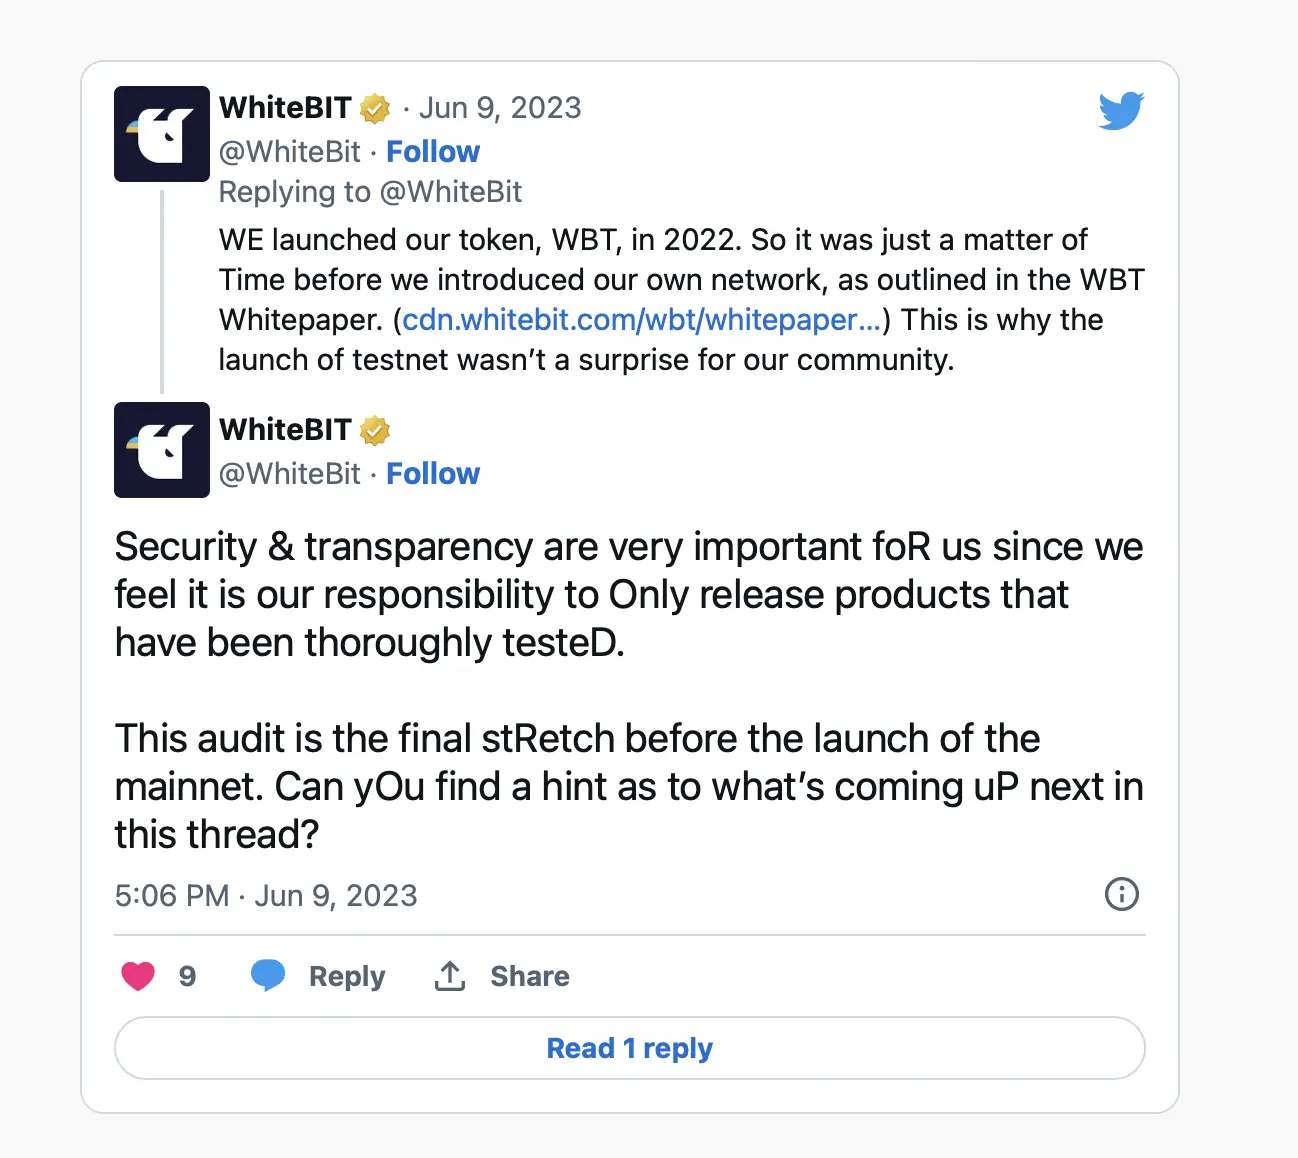
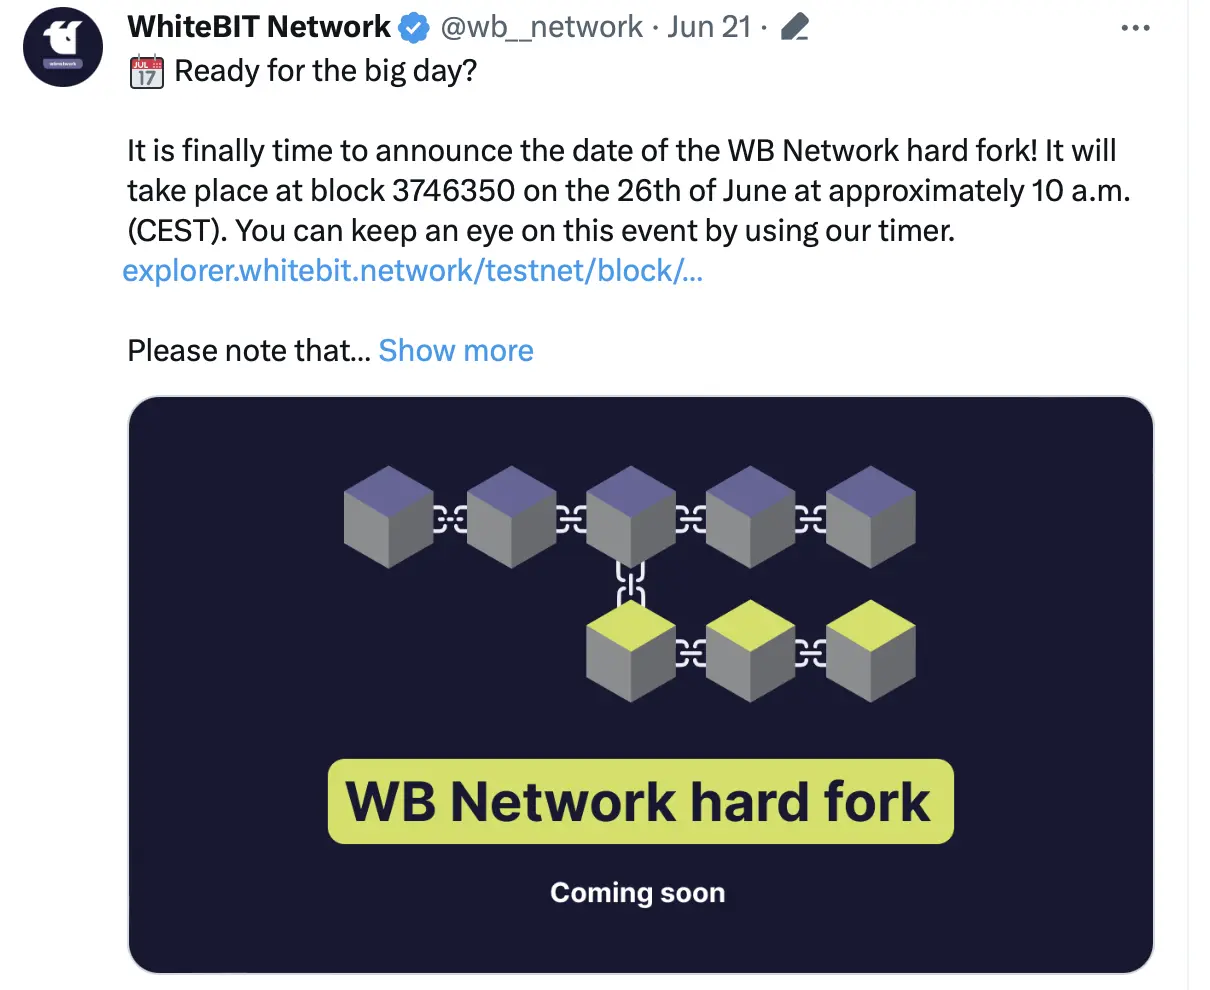
Today we will discuss a clear example of a testnet. I will share with you how I personally used it and the steps I took. I mean, WhiteBIT, known to everyone and one of the largest crypto exchanges in Europe, shared a tweet discussing the final preparations before launching their new network, eagerly expecting its release to their customers.
The comments on the post made it clear that people needed to find the hidden word, and there were hints it was the word RETRODROP. This means that people who participate in testing the new network will receive certain benefits from WhiteBIT.
Related Reading: Building Upscale Crypto Security: Top 5 Crypto Exchanges to Trust
Source: Twitter
Source: Twitter
Sharing personal experiences always helps me more with certain things. Accordingly, I share with you the steps that I went through.
I tried out the WhiteBIT testnet and saw how it works by following the instructions below.
How to Enter the WhiteBIT Network’s Testnet – Step-by-Step Guide
As a matter of fact, unlocking all the features of WhiteBIT’s Network and launching it is not rocket science at all. It requires only two pivotal attributes to take up:
- Registration on the WhiteBIT exchange;
- MetaMask, Trust, Opera, Zerion, or another wallet, which can be created via the browser application or smartphone app;
The first and foremost step you should take to use the WhiteBIT Network’s Testnet is to get acquainted with its White Paper, in order to receive a comprehensive acknowledgment of the product’s bits and pieces, values, and functionality.
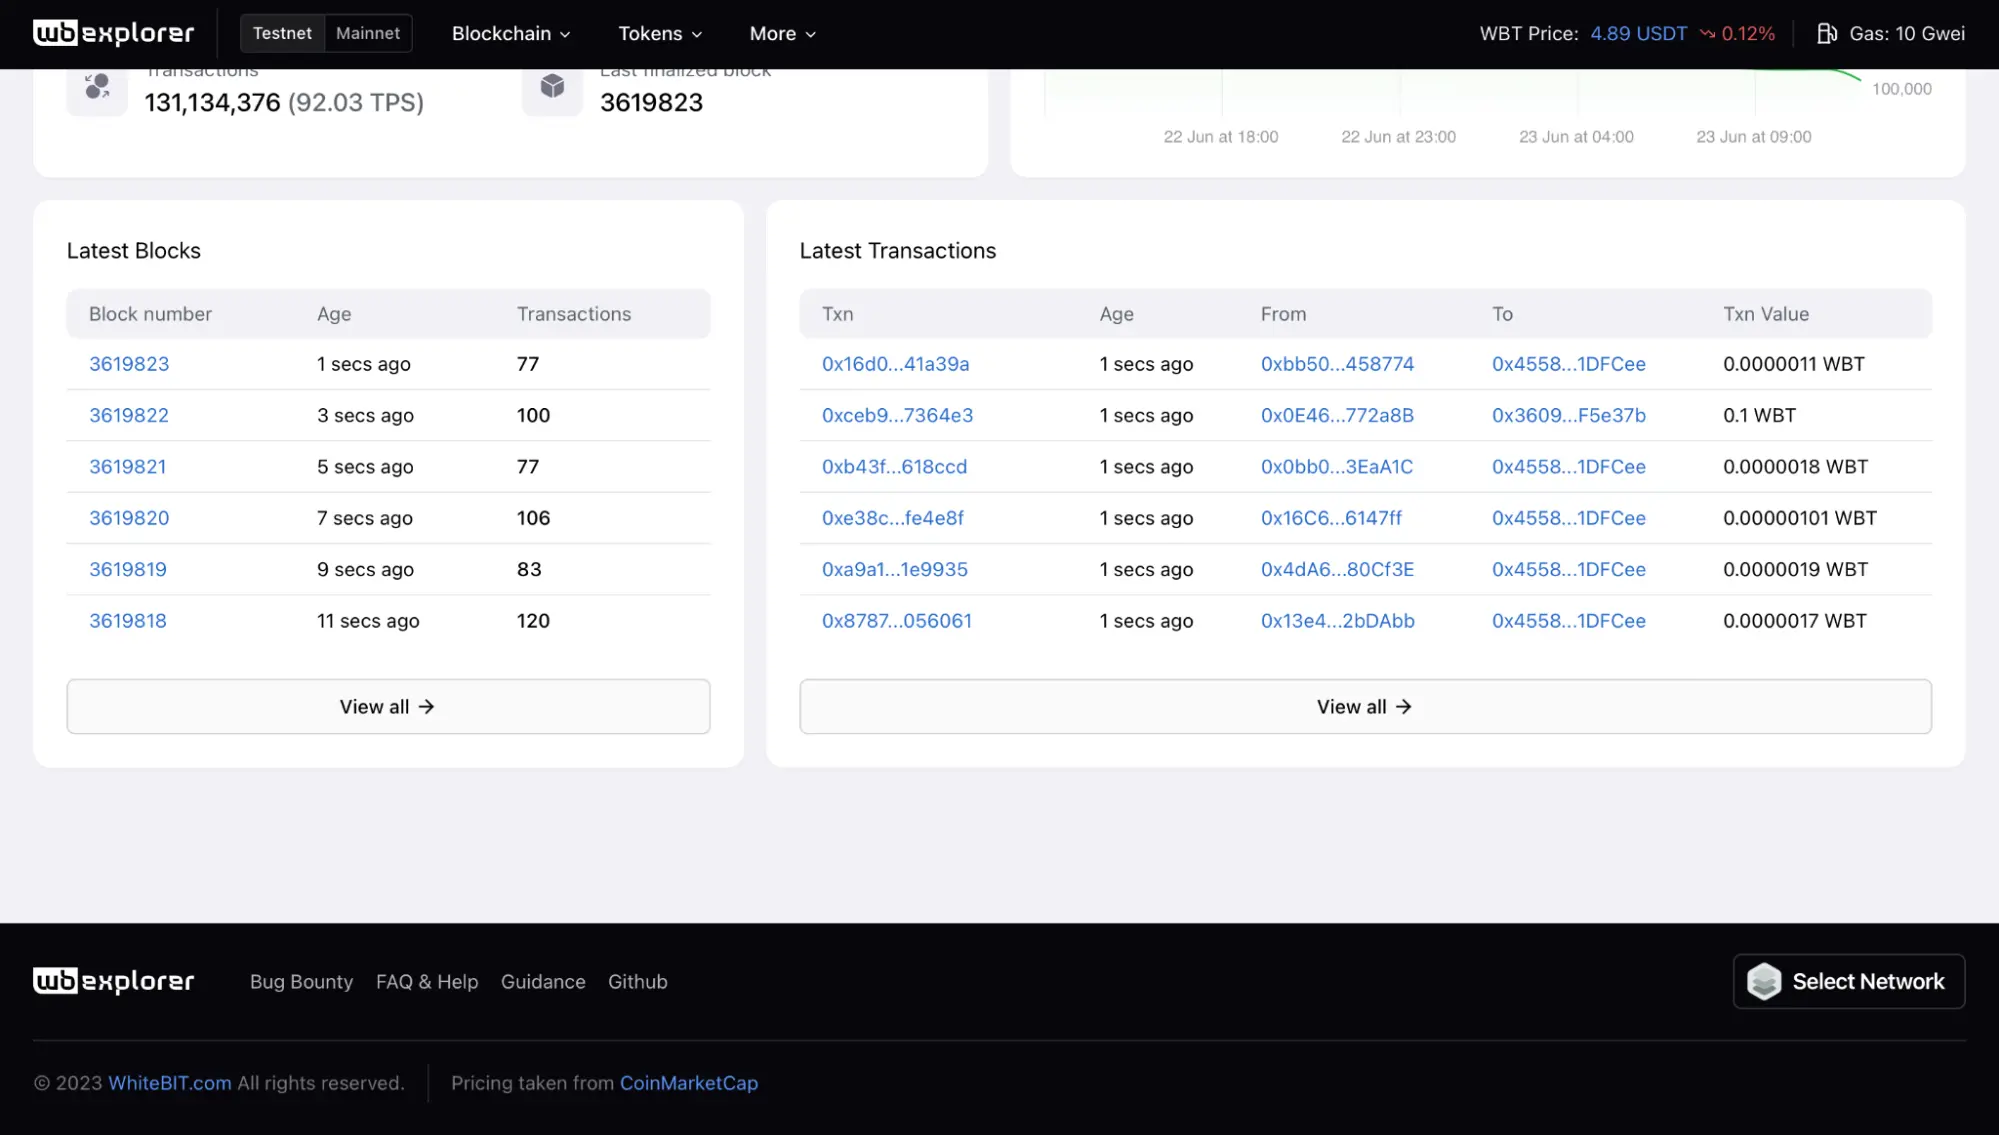
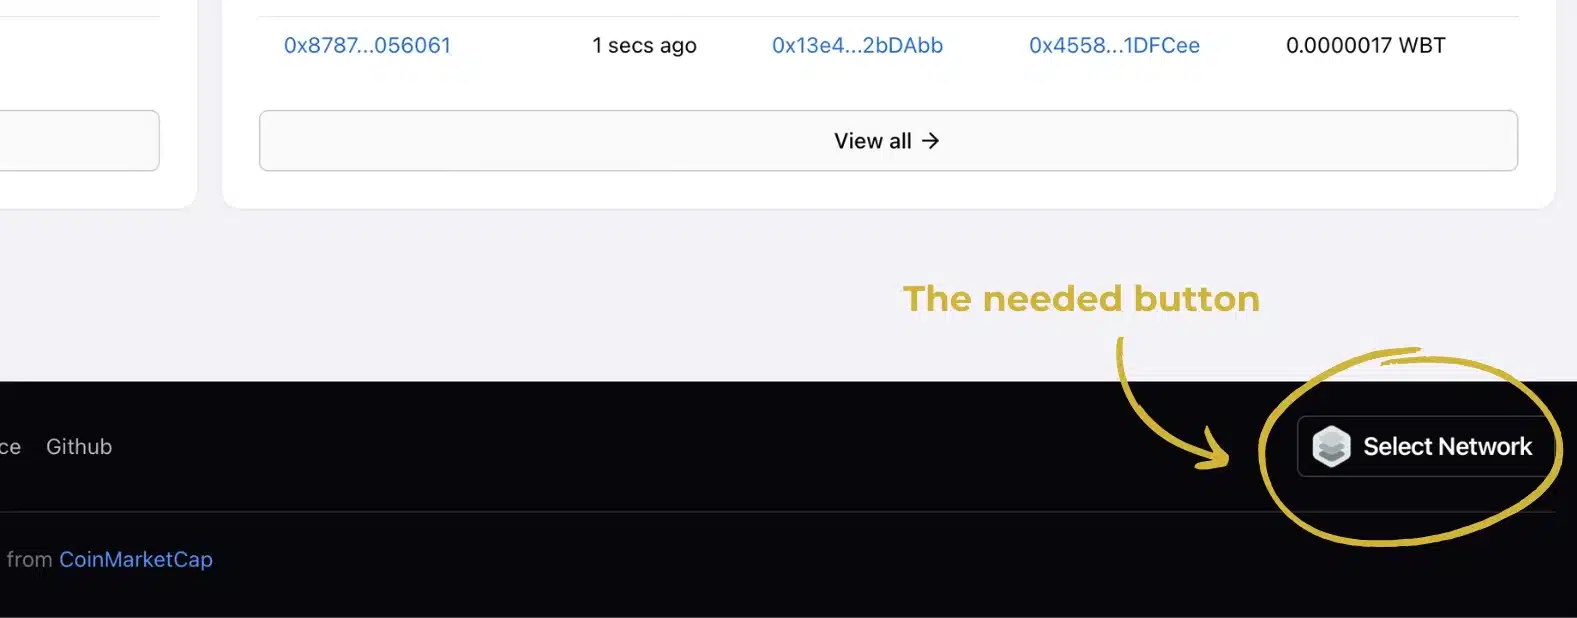
Then, it is time to connect the wallet. Namely, Metamask linking can be carried out in both ways: automatically or manually. To connect the wallet automatically, you should go to WhiteBIT Explorer, and press the “Select Network” button in the lower-left corner of the page.
You May Like This: MetaMask Advises Caution to Users Regarding Potential Airdrop Scams
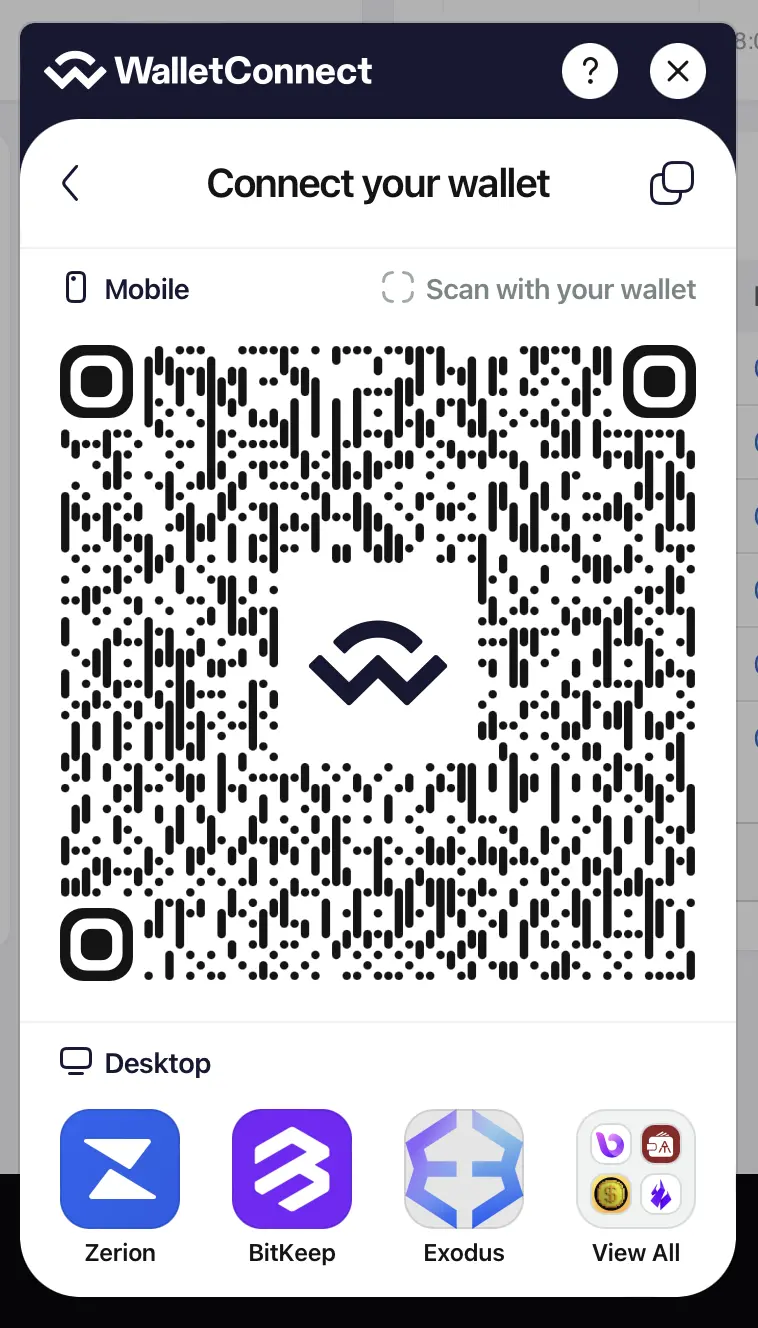
Then, choose the “WB Network” option, and consequently you will receive a direct link to connect the browser-based wallets and QR-code for the smartphone applications.
Still, whether you face issues connecting automatically, here is the manual for you:
1. First, open the Metamask extension
2. Click “Add the network” in the networks list
3. Choose the “Add network manually” option on the page
4. Embed the following data:
- Network name: WB Network;
- New RPC URL: https://rpc-testnet.whitebit.network;
- Chain ID: 2625;
- Currency symbol: WBT;
- Block explorer URL: https://explorer.whitebit.network/testnet;
5. Click “Save.”
Done! Now you are ready to go to the next step.
How to Claim Test Coins
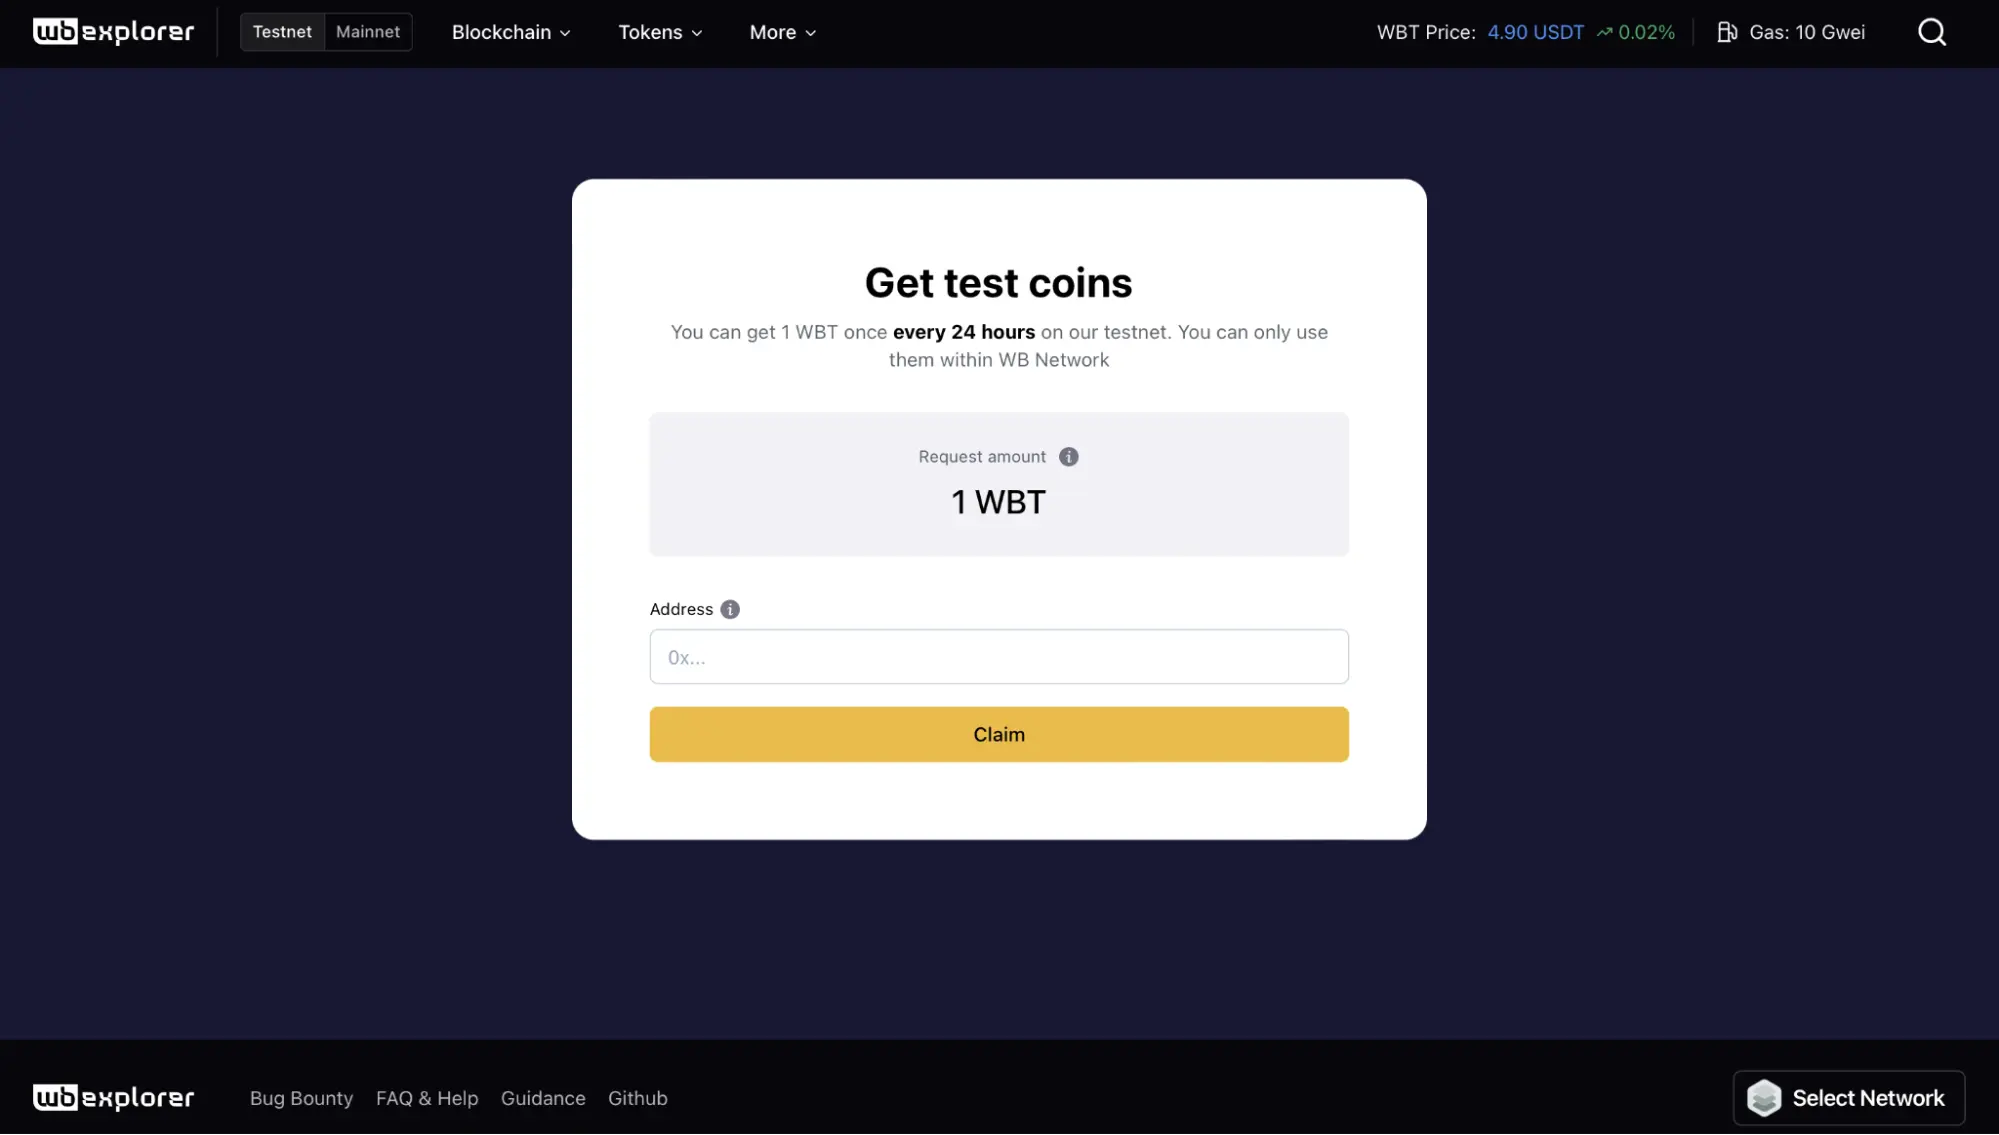
The test WBT coins can be requested via the Faucet in the WhiteBIT Explorer. It is important to note that the amount of coins is limited to 1 unit for an address every 24 hours.
To receive the coins, you should simply enter your wallet’s public address and press the “Claim” button. After that, the assets should be in your wallet and you will take up your journey within the Testnet.
Additionally, you can deploy the smart contract with the Remix tool and verify it in the WB Network’s Testnet. When carrying out a smart contract, this instruction was of great help to me.
To verify the previously deployed smart contract on WB Explorer, you should go to the verification contract page, upload the contract’s files, and insert the contract’s address into the “Contract Address” blank.
Check This Out: 5 Best Altcoins to Buy in June 2023
Closing Remarks
Ultimately, the WhiteBIT Network is at zeitgeist right now, and not only due to the upcoming retrodrop. The Network is about to become a prominent contribution to WhiteBIT services and products, shaping them into a solid ecosystem, which is not only a decent marketing case, but also a silver lining for crypto’s future development.
Additionally, the crypto realm is always expanding, and that expansion is clearly evolving thanks to airdrops, retrodrops, and other chances to gain profits without losses. Testnets tend to grant their users such opportunities, spurring the increase of active crypto enthusiasts. Hence, when the exchange releases its blockchain, it also becomes a part and parcel of the powerhouse of the technology.


